
It’s a Wrap – Navigating the Final Punch List
You’ve spent weeks — sometimes months — planning your remodel. You selected materials, made countless decisions, waited patiently through construction, and watched your vision slowly take shape. By the time your space looks “almost done,” it’s completely natural to feel excited and ready to move in.
But rushing to the finish line is one of the most common mistakes homeowners make. The final stage of a project is where the smallest details matter most, and slowing down here can help your remodel experience finish as strong as it started. Finishing well means walking through the space carefully, identifying anything that needs adjusting, and giving your contractor the opportunity to perfect the work.
What Exactly Is a Punch List?
Many homeowners are familiar with the term, but aren’t as clear about exactly what to expect or do.
A punch list is the final, detailed checklist your contractor uses to confirm that every part of the project is complete and functioning as intended. This includes:
Touch-ups and small corrections (paint, caulking, alignment)
Missing or unfinished elements (hardware, trim pieces, fixtures)
Ensuring that every item listed in the project scope has been completed
Verifying that all functional components — doors, drawers, switches, fixtures, plumbing, electrical — work to the expected standard
It is not the time to redesign or add new requests. It’s simply the final polish — the step that ensures the craftsmanship meets your expectations.
Why Walk-Throughs Throughout the Project Matter
Final punch-list day should not be the first time you review the space with your project manager. Doing walk-throughs throughout construction helps catch issues early and keeps the project moving smoothly.
Just as important as the walk-through itself is how communication happens during them. Try using open, curious questions that invite clarity and communicate that you want to understand the process.
For example: Instead of asking “Why hasn’t the hardware been put on my cabinets?” Try asking “When do you usually install the hardware on the cabinets?”
This approach:
Keeps communication easy and positive
Helps your project manager understand what you're noticing
Avoids assumptions or accusations
Identifies details that may have been missed or need clarification
Prevents costly changes or delays later on
Think of these walk-throughs as quality checkpoints. The more proactive you are, the smoother the end of the project will be — and the sooner you’ll be enjoying your new space.
Why You Shouldn’t Rush the Final Stage
When a room “looks done,” it’s tempting to start bringing in furniture, hanging clothes, or stocking cabinets. The problem?
Doing so too early:
Makes it nearly impossible for contractors to complete punch-list items
Can cause accidental damage before the space is officially finished
Slows the timeline if areas need to be cleared again for repairs
Creates frustration for both you and your contractor
This final phase is the moment to pause, breathe, and give your team the space and access they need to finish with precision.
How to Evaluate Your Space Like a Pro
Here are practical, builder-recommended ways to perform your final walk-through — so you know what to look for and how to evaluate the work fairly:
1. Step Back 6 Feet and View Surfaces Naturally
Industry standards evaluate surfaces — such as drywall, tile, and paint — from a normal viewing distance of around six feet without artificial lighting or flashlights. This ensures that what you’re seeing is realistic and consistent with professional standards. This is especially important in expectations with remodeling where often old and new surfaces are meeting. Your old wall with many years of life and coats of paint is not going to look brand new even with good drywall patching and quality paint.
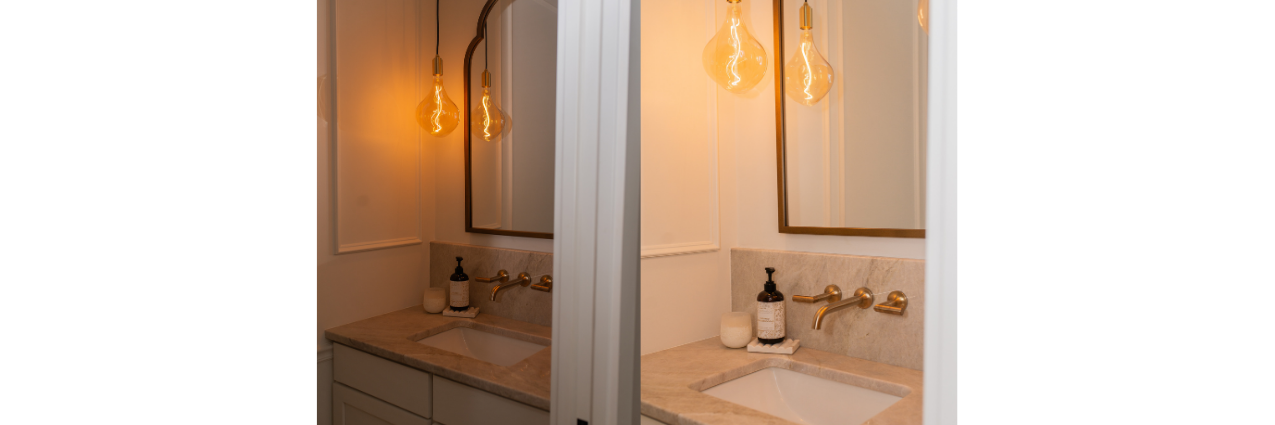
2. Walk Through During Daylight and After Dark
Different lighting reveals different details.
Daylight helps you spot texture or paint inconsistencies
Artificial light at night reveals shadows, alignment, and reflective surfaces
Doing both gives you a complete picture and allows for other things to catch your eye a second time through.
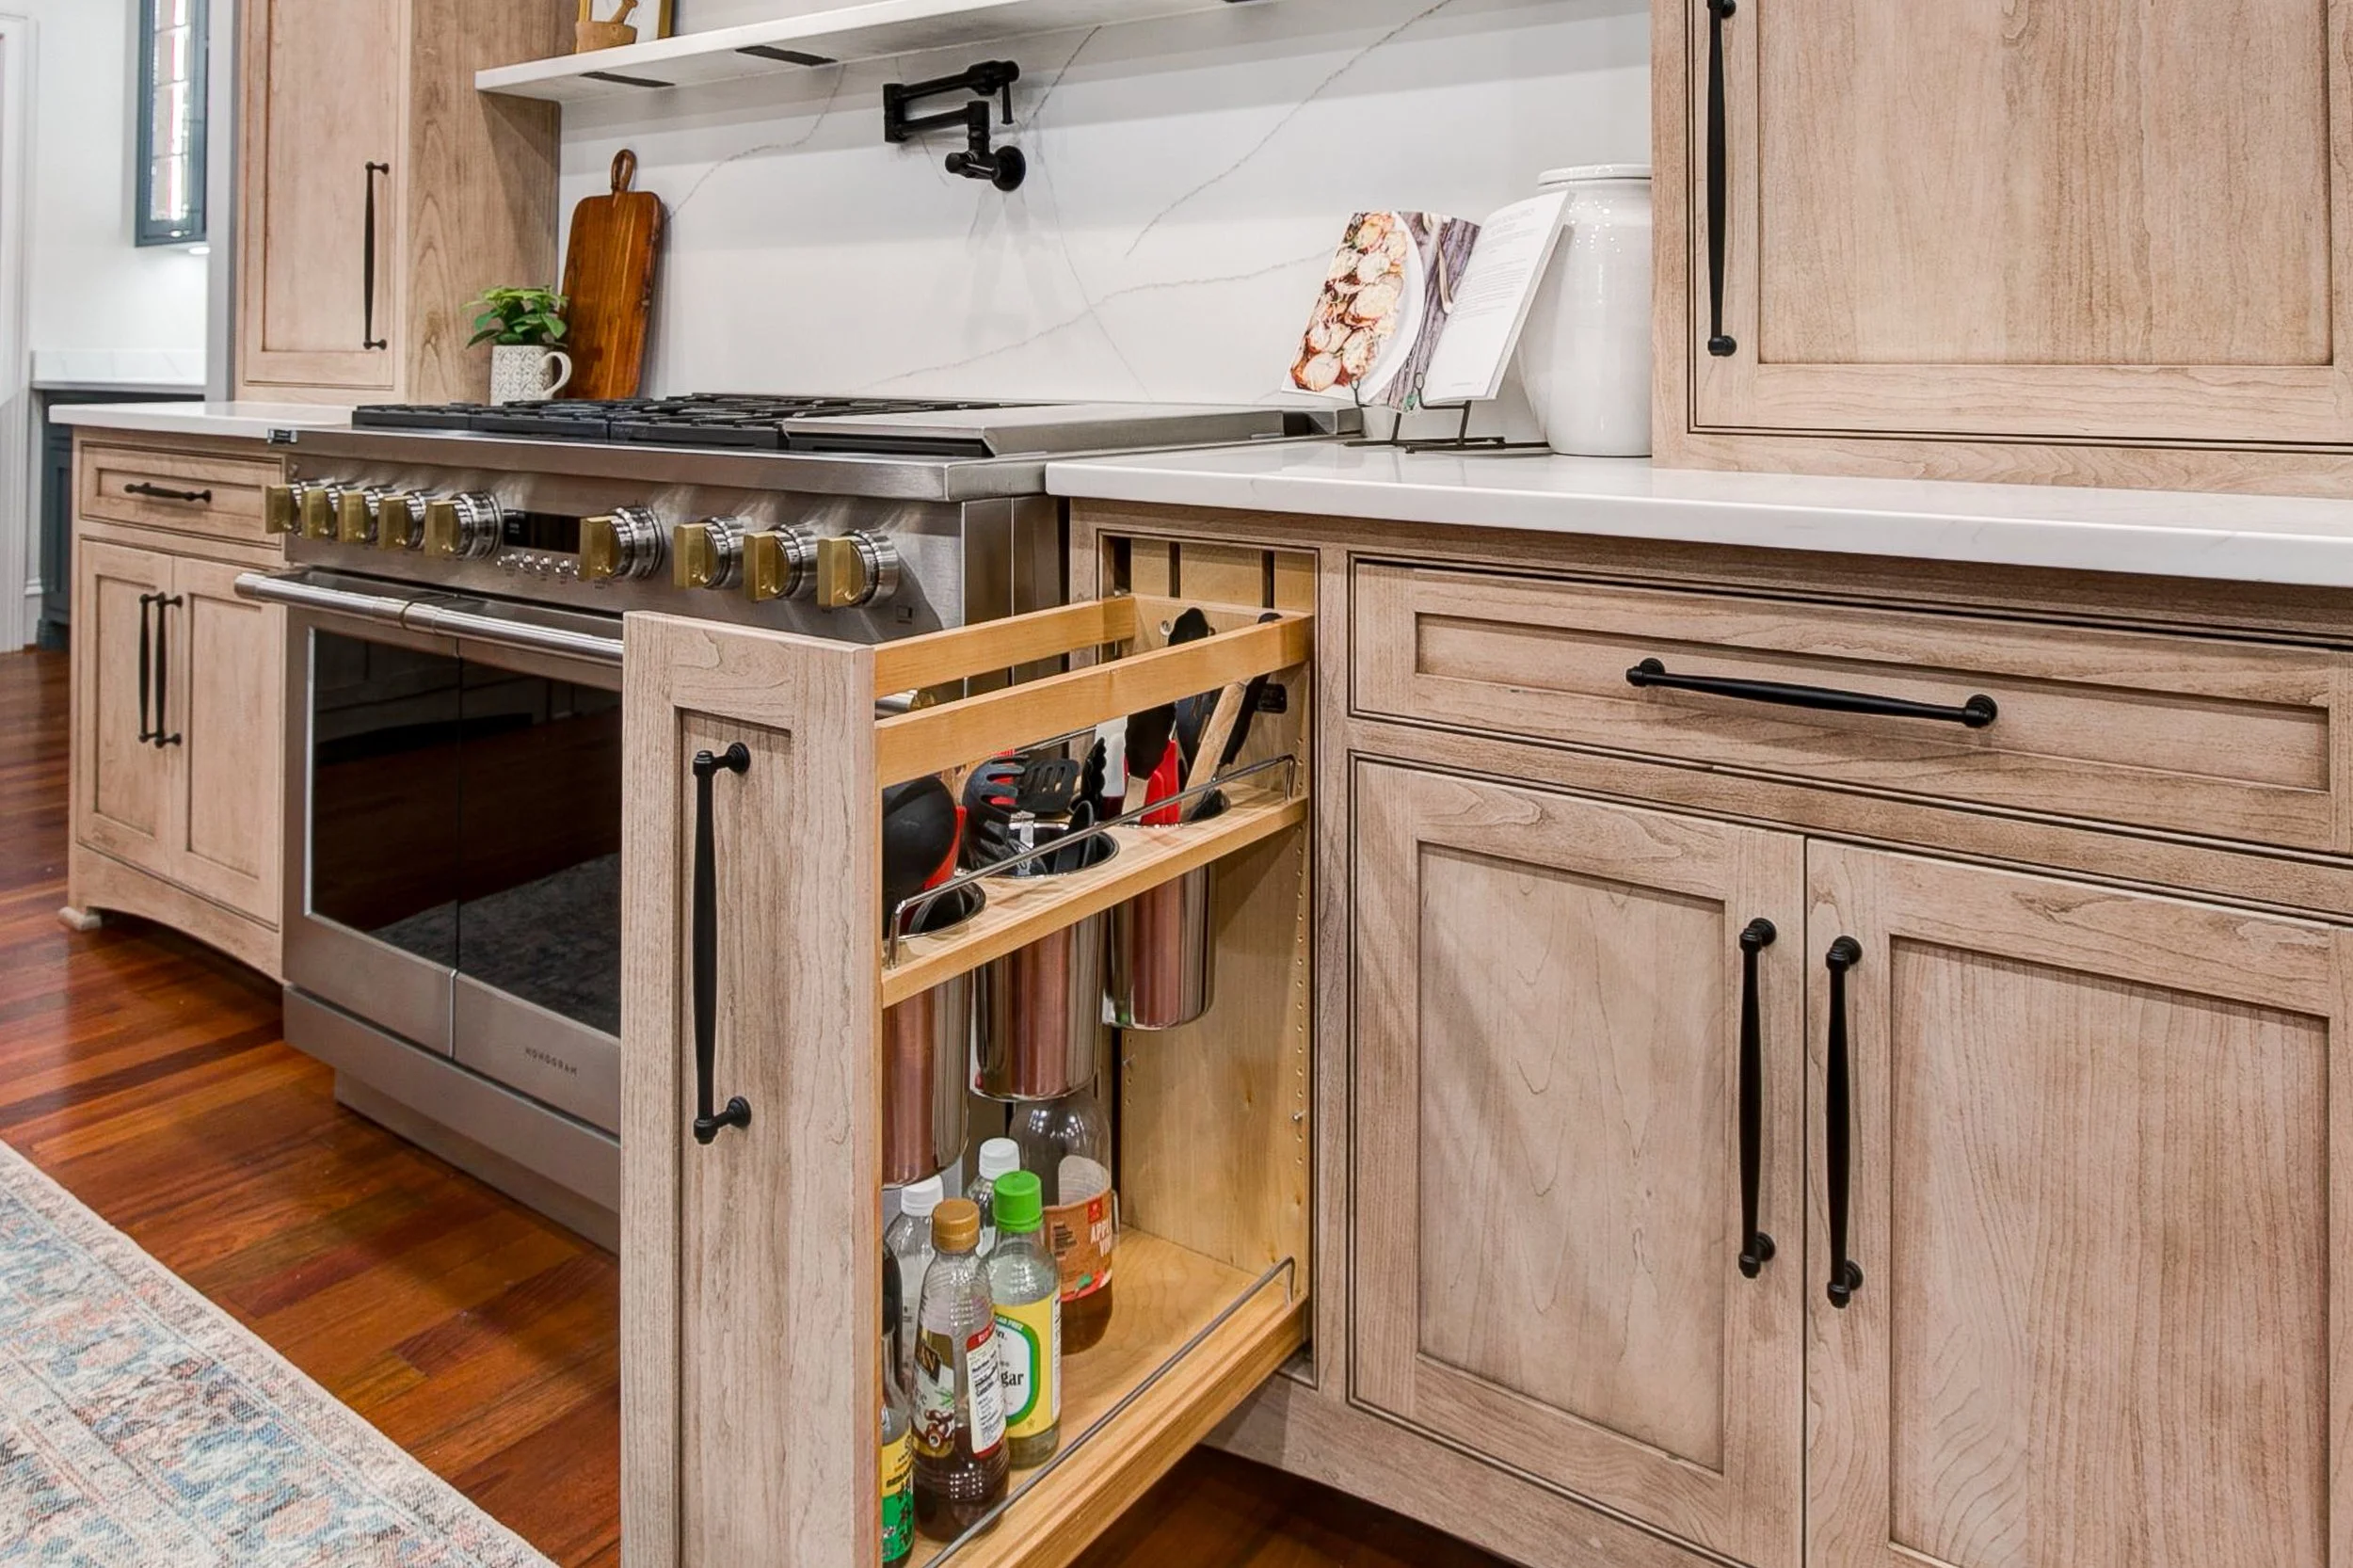
3. Test things that Move
Don’t assume everything works — try it. Use the space as you normally would:
Open all doors and drawers
Run faucets and showers - test water temperature
Test fans and lights
Check the function of all installed hardware and cabinetry
Verify appliance operation (if included in the scope)
If it moves, lights up, slides, or drains — test it.
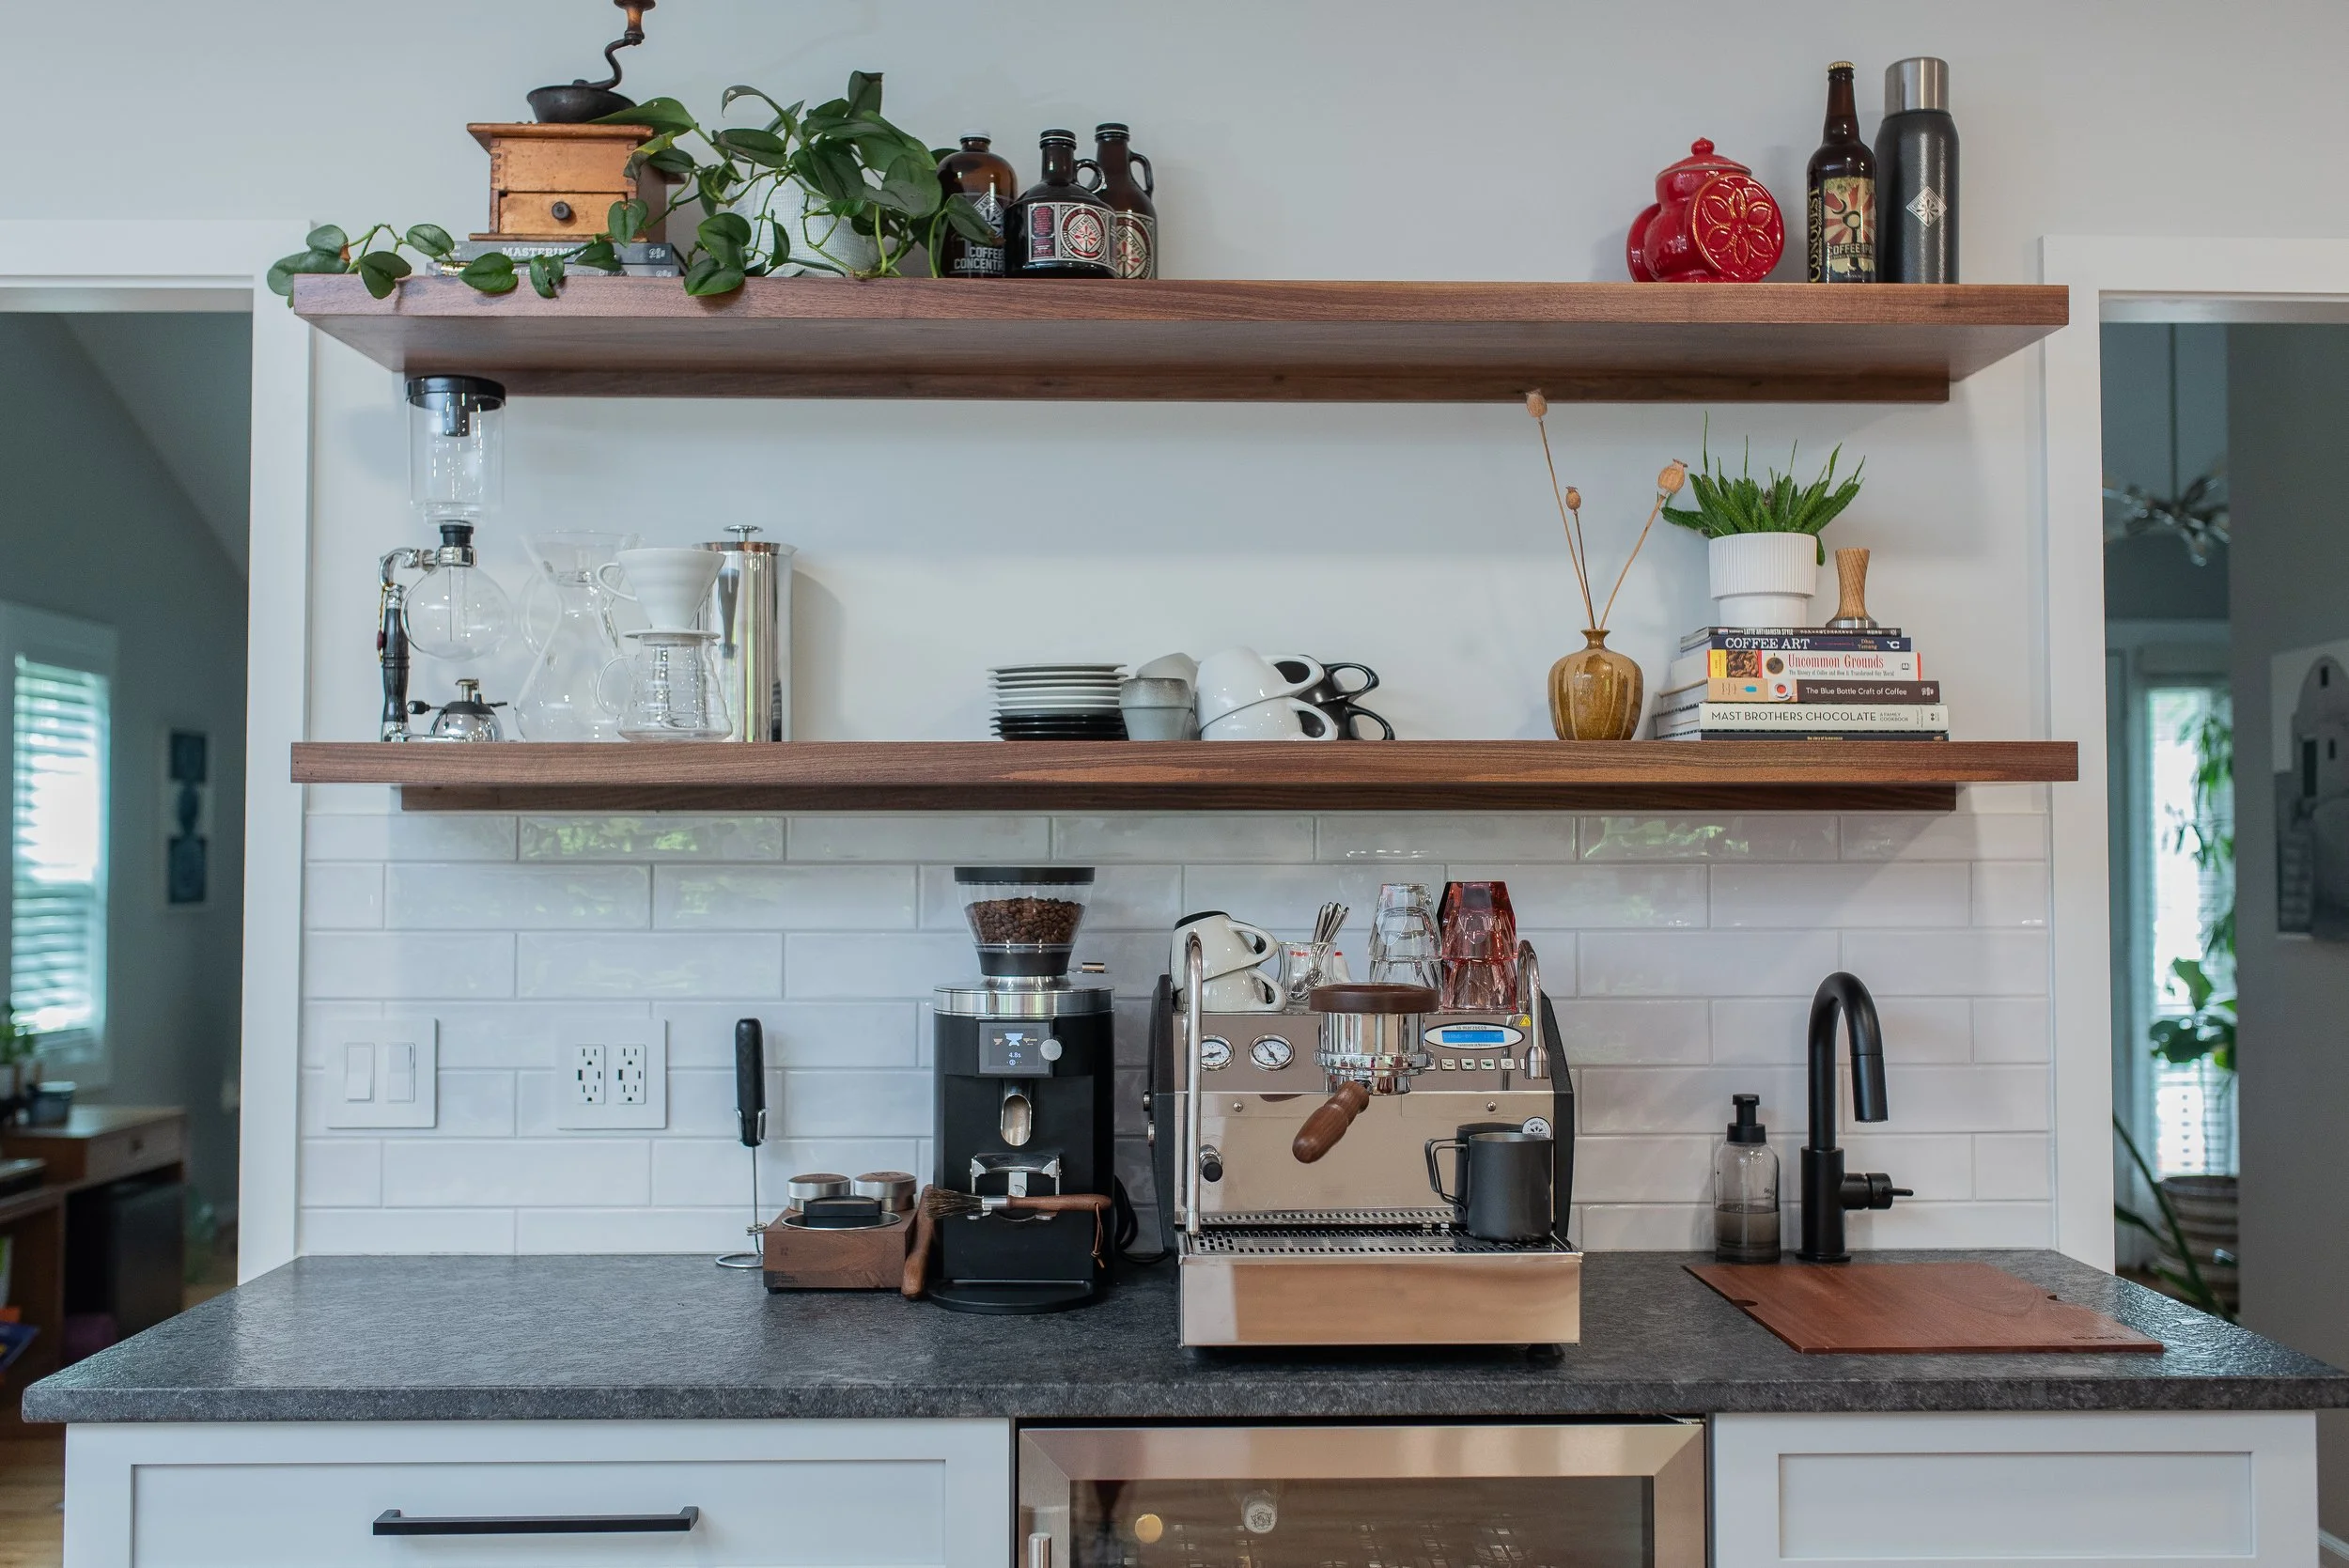
4. Look for Consistency
Instead of fixating on perfection, focus on consistency across the space:
Are grout lines even and tiles unchipped?
Are paint transitions clean?
Do doors align similarly?
Are hardware placements uniform?
Little variations can happen in any build, but the overall appearance should feel cohesive and intentional.
Finish Strong for a Better Long-Term Experience
A remodel isn’t truly complete until the punch list is addressed and the space meets both your expectations and industry standards. Slowing down to do it right protects your investment, reduces warranty issues later, and ensures you move into a finished space — not a “mostly finished” one.
The final walk-through is your chance to collaborate with your contractor, ask questions, and make sure every detail reflects the time and energy that your whole team has worked so hard to complete.
When you give this stage the attention it deserves, your new space feels even better on move-in day.